Keyboard case foam mod – complete beginner’s guide (with photos)
There are many keyboard mods – some of them give you an instant reward in sound and feel while others make a more subtle difference. You can hear it but it’s not very noticeable. One such subtle mod is the case foam mod.
It won’t make an insane difference, it will add a bit of quality to the sound of your keyboard. Make it a bit more premium and less hollow. With this mod you can often cheat the sound – get a more premium one with a cheaper plastic case.
But don’t expect such a difference as with changing switches or lubing them. And if you didn’t do it I recommend this mod. It has a huge impact. Here you can learn how to lube switches – ARTICLE LUBE SWITCHES. Here you can read a bit about changing switches – ARTICLE UPGRADE SWITCHES
What tools will you need to case foam mod your keyboard?
| Keycap puller | You will need a keycap puller in order to get the keycaps out of your keyboard. This will enable you to get the PCB out and free the bottom case. You can get this tool here – BUY KEYCAP PULLER |
| Screwdriver | You need a small screwdriver. It really doesn’t matter what brand you use as long as it works. And don’t get fooled – you don’t need the precise electric one. Just a small regular screwdriver from a local hardware store. |
| Sharp knife | You can use a box cutter (utility knife). You can use whatever one you’d like, it’s for cutting the foam. I won’t attach a link here. You can also get the box cutter at your local hardware store. |
| Scissors | You should have a pair in your house. Once again, I won’t attach a link. |
| Cutting board | You need something to cut the foam on. A regular cutting board will be just fine. However, if you chose an automotive mat at a foam it’s better to save your cutting board and cut on just a piece of wood. You can see why in my foam comparison article. |
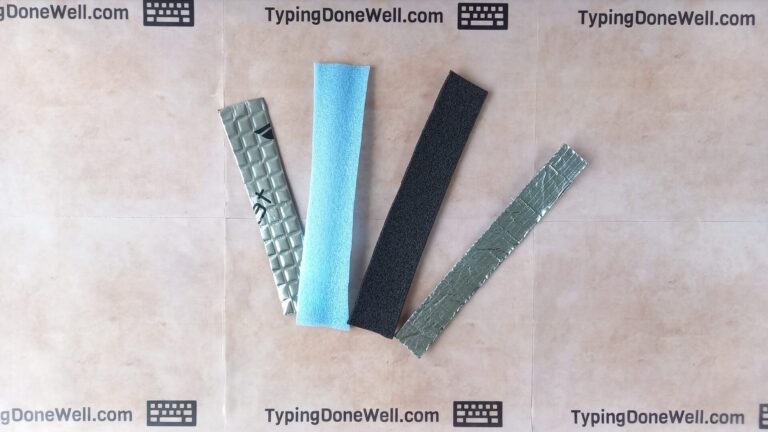
| Foam | Of course, you will need a foam. To choose the right one check out my detailed comparison (with tests) here – ARTICLE CASE FOAM COMPARISON |
| + Switch puller | You can get away without taking the switches out of the PCB. However, if you’re a beginner and are cautious (clever) you will need this tool to take switches out. You can get it here – BUY SWITCH PULLER |
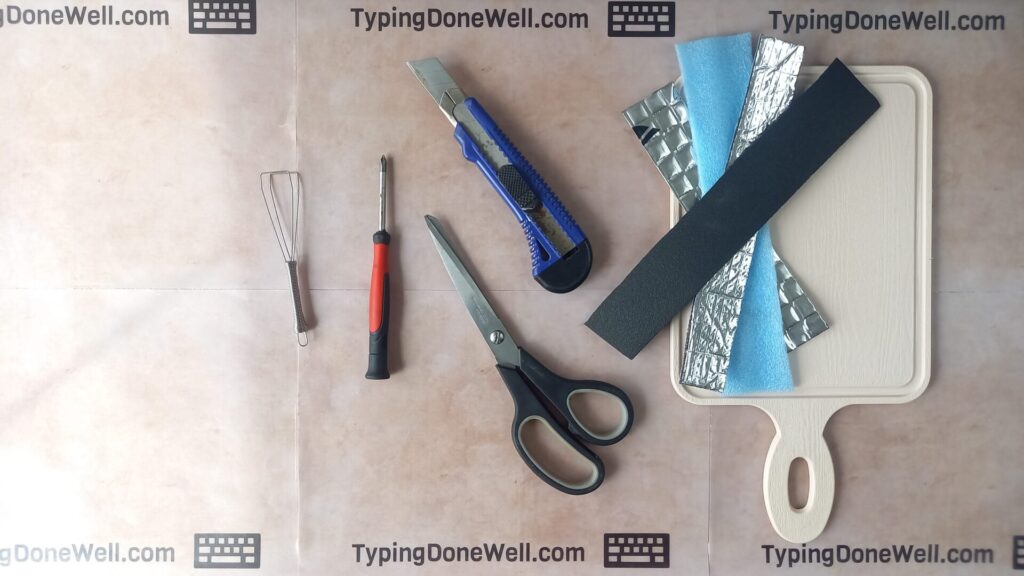
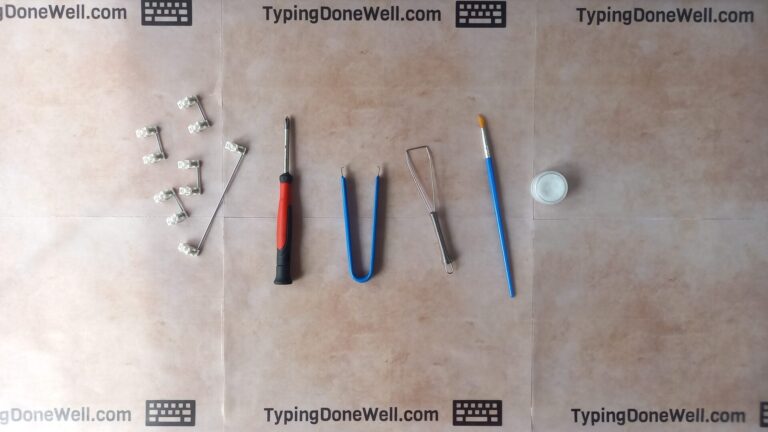
To perform the case foam mod on your keyboard you will need a keycap puller, a small screwdriver, a sharp knife, a pair of scissors, a cutting board, and of course the foam. You will need a switch puller if you’re performing this mod for the first time.
What is a keyboard case foam mod?
I want you to understand that there are two foam mods that you can do. One of them is the case foam mod and the other is PE foam mod. Those are two completely different mods. You can read more about the other one here – ARTICLE PE FOAM MOD
Case foam mod is a modification to your keyboard based on adding foam under your PCB at the very bottom of the case. This mod helps reduce hollowness, quiet down the keyboard, and create more premium sound for a low price.
Case foam mod is the mod where you put the foam at the bottom of your keyboard’s internals. Most keyboards are hollow and don’t have any sound dampening right on the bottom case. This can be useful for keyboards that are meant to be sound.
However, sound dampening helps quiet down those hollow keyboards as well as produce a more premium sound thanks to certain frequency-dampening properties of the foam. Of course, it matters which foam you choose but we’ll get to that.
What does case foam modding a keyboard do?
Before you perform a mod on your keyboard you need to know what this mod does. Maybe it isn’t worth it for you to do it? It all depends on your needs and goals for the keyboard.
Adding a case foam to your keyboard dampens the sound. Because of that, the keyboard becomes quieter. At the same time, foams don’t suppress all the frequencies in the same amount. That’s why most keyboards end up sounding more premium and more enjoyable.
However, it depends on the switches. I wouldn’t recommend adding case foam to a keyboard with clicky switches. It probably won’t fit the sound of such a keyboard.
You can always try it on a keyboard with clicky switches because you can easily remove this mod. But don’t feel disappointed if it doesn’t make the keyboard sound much better. The foam can reduce the clicky sound that such a keyboard is meant to have.
I’ve made a quick video to show the difference in sound that case foam mod does:
As you can hear this mod doesn’t make a huge difference. It just adds a bit to the quality of your keyboard’s sound, nothing too extreme. However, stack a few of such subtle mods together and you’ll get a great-sounding keyboard.
What foam should you choose for this mod?
There are plenty of foams out there that you can buy. Which one is the right one for you? That’s a question that requires a more detailed answer than I can fit in just a segment of this article.
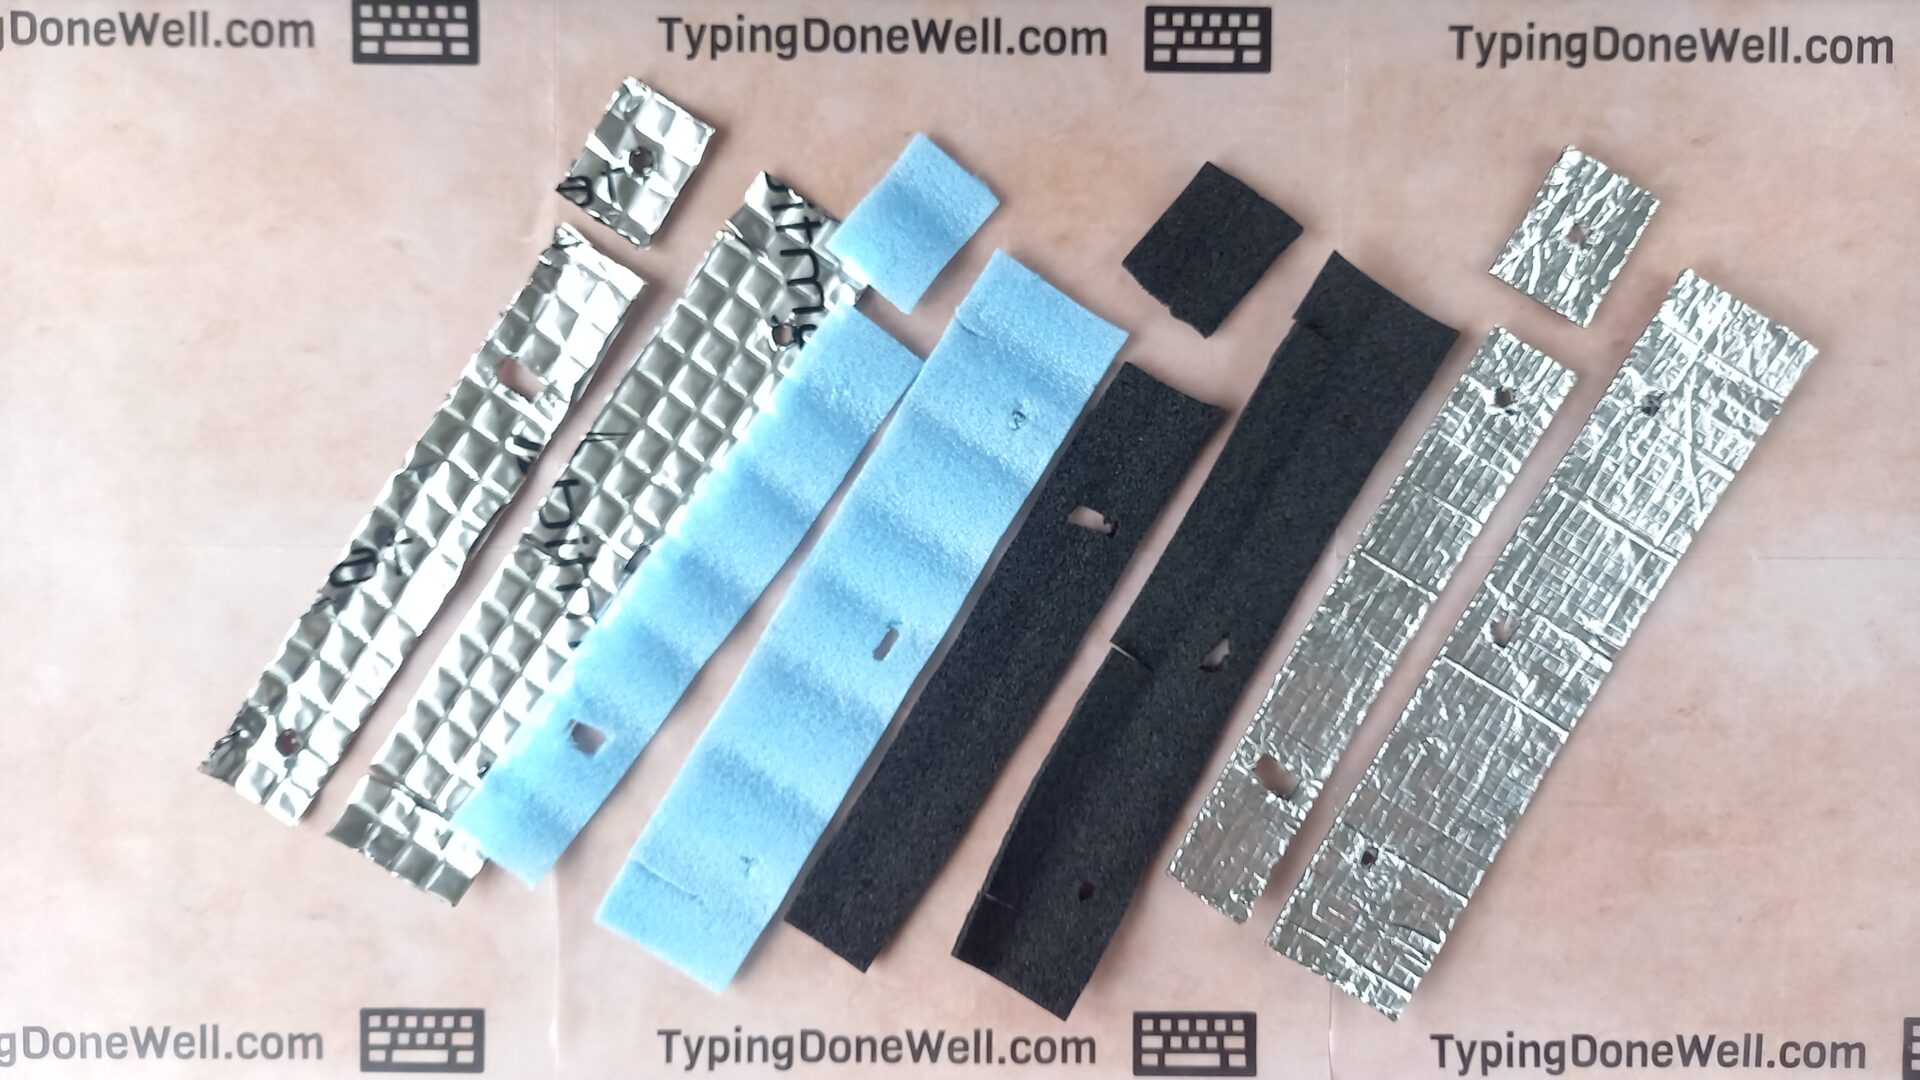
That’s why I made a whole dedicated article with tests and comparison of the most common foam types for the case mod. You can read it here – ARTICLE CASE FOAM COMPARISON
After reading the case foam comparison and getting the foam that fits your needs you can come back to this article and actually do this mod. However, wait a bit before you start doing so.
While you’re at it you can read my other article about the PE foam mod. Maybe you’ll be able to purchase both foams at the same time and save a bit on the delivery. Here’s the article about the PE foam mod – ARTICLE PE FOAM MOD
How to case foam mod your keyboard?
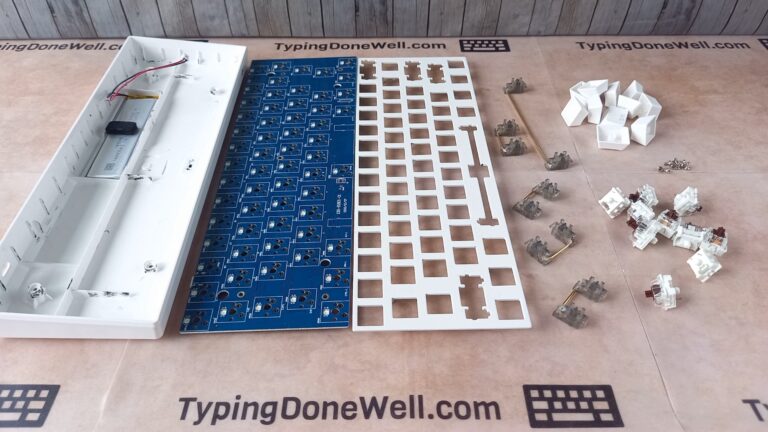
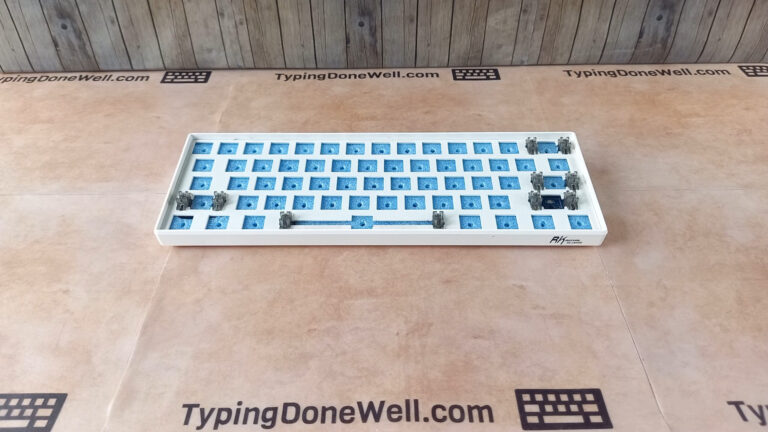
At this point, you should have chosen the foam that you want to use. You should also have the bottom case of your keyboard in front of you without any other components (with just a battery inside if your keyboard has one). If you also have all the tools you need in front of you we can start doing this mod.
To case foam mod your keyboard you first need to disassemble the keyboard and get the bottom case in front of you. Then you need to properly cut the chosen foam and place it in the case. Finally, you can assemble the keyboard back together.
Here I will only show you what to do after getting the bottom case „out of the keyboard”. If you don’t know how to disassemble and reassemble the keyboard don’t worry, I’ve made a step-by-step guide about that. You can read it here – ARTICLE DISASSEMBLE AND REASSEMBLE KEYBOARD
Here’s how you prepare and place the foam in your case for this mod:
- Put the bottom case of your keyboard in front of you. Roughly cut a piece of foam to the shape of your keyboard’s case
Doesn’t need to be perfect at this stage. Still, a little tip from me – make sure to cut the foam as straight as you can. This will make your job much easier later on while doing more precise cuts. For this step, it’s best to use the scissors.
- Place the piece of foam in the case and cut it to the exact shape that you need.
It should fit the case (practically a part of it that’s not divided). You’ll get a hang of it after a bit of experimenting.
A tip for this step – You don’t need to get the whole piece in at the same time. Your case should have sticking-out elements that won’t let the foam lay flat as it needs. This will cause a shift later on once you cut holes for those elements. Start from one side and work your way slowly to the other.
- Make cuts and holes (if you need to) for sticking out elements until the foam lays perfectly flat on the bottom of the case
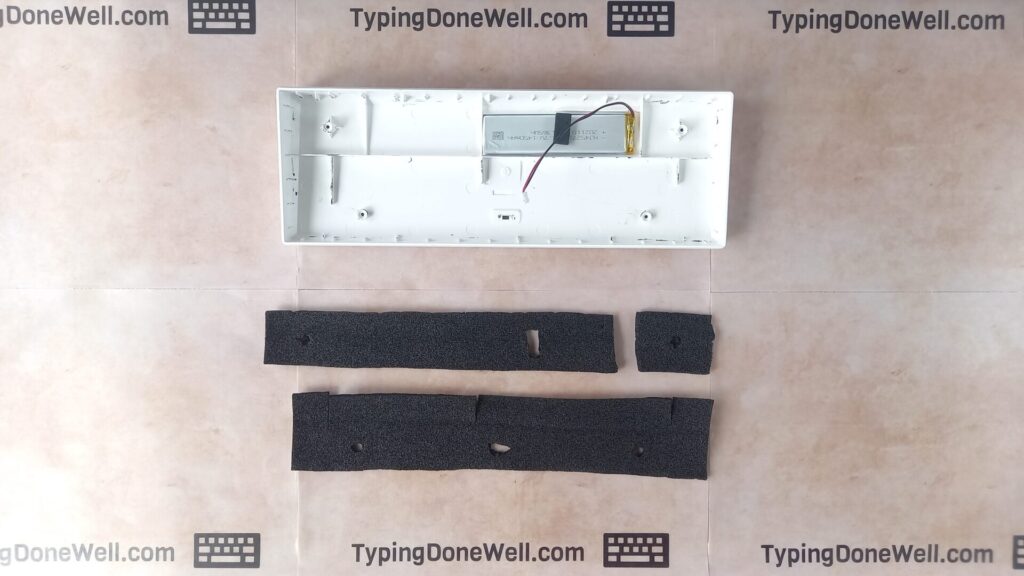
Don’t forget about the on/off switch if your PCB has one! Make sure that you cut a piece of foam for it too or you’ll get a surprise trying to put the keyboard back together.
- Repeat this process until all of the bottom case is covered in the foam. For most cases, it will take a few individual pieces for a few divided regions of the case.
- After you’re done with this process you should check a few things. Make sure that the foam doesn’t block your PCB – that it’s not too high (important for harder foams). Also, make sure that you didn’t block any PCB components like the on/off switch or battery connector.
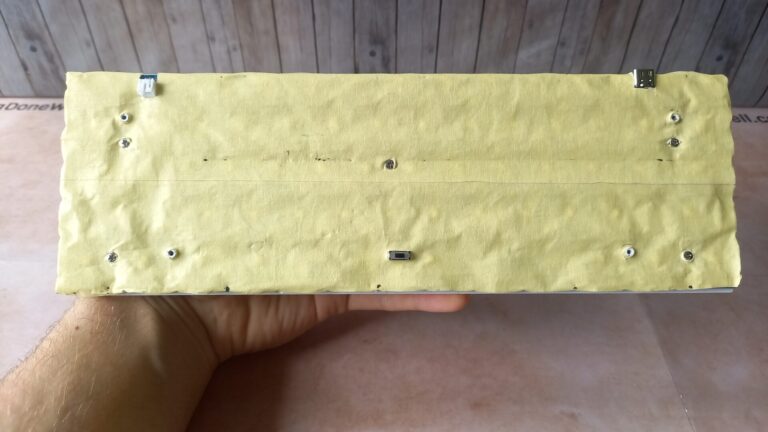
In simpler words – make sure that the PCB lies as it did before doing this mod. Here’s how the foam should fit the bottom case after cutting:
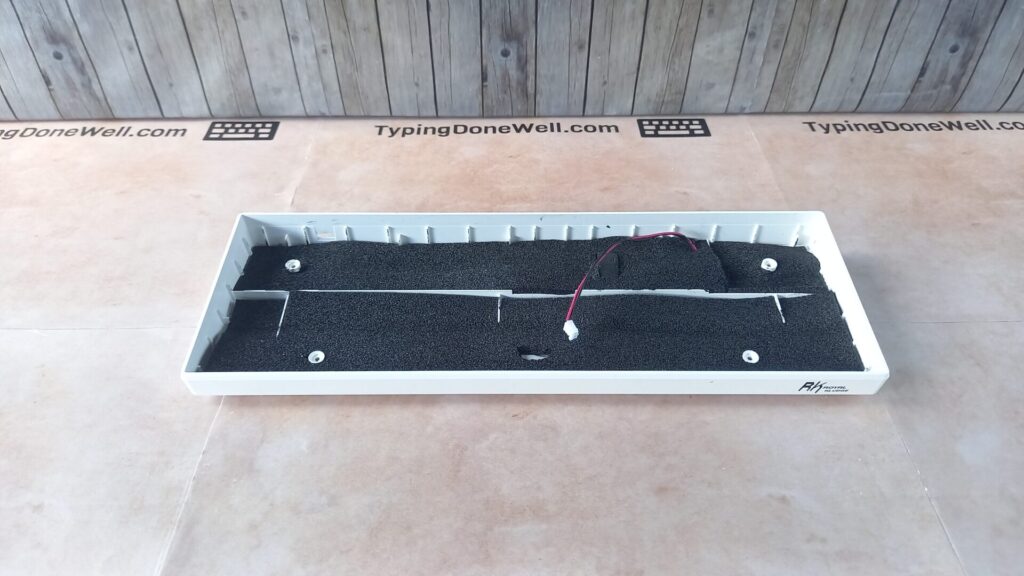
After you’re done with that all there’s left to do is assemble the keyboard back together and enjoy the sound difference this mod brings!
Is case foam good for a keyboard?
Is it safe to do a case foam mod on your keyboard? This is a question some of you might ask. Will case foam create a fire hazard? Or will it damage a battery?
Case foam mod should never damage your keyboard. It won’t create a fire hazard and it will not impair your keyboard. The foam could only speed up the damage to your battery if it was manufactured poorly from the factory and was overheating already.
For any well-made keyboard case foam mod will have no negative impact if done correctly. You could always damage your PCB while doing this mod but that’s not the foam’s fault.
That’s why you need to take things slow and be cautious whenever you’re modding your keyboard. There’s no reason to rush things, especially if you’re a beginner. Find enjoyment in doing this mod (and any other mod) slowly and carefully.
Does case foam mod block RGB?
This segment is for those who have a keyboard with RGB lights. Does adding case foam effect in any way the RGB lighting?
Case foam mod has no effect on RGB lights. That’s because the foam is added on the very bottom of the case – below PCB which has RGB lights. Case foam mod won’t block in any way those lights.
Luckily, this mod has no effect on the RGB lights no matter how you shape the foam. It will always be below the PCB. That means it will always be way below the actual light sources for the RGB.
With all of that said I hope I’ve covered every one of your questions. If something isn’t clear enough for you feel free to ask in the comments down below.
I wish you a great time modding your keyboard with this subtle mod. It doesn’t seem to make too big of an impact but with mods like tape mod and PE foam mod it can improve the sound of your keyboard drastically.
Cool