How to install a custom layout on Windows? – step-by-step guide
In this article, I will show you how to install a custom layout on Windows. In order to understand this article, you should know what a keyboard layout is. If you don’t you can read about it here – ARTICLE WHAT IS A KEYBOARD LAYOUT
What is a custom layout?
The custom layout gives you a lot of opportunities. You can personalize everything you want to. It is just a keyboard layout that you modify (or somebody else does).
A custom layout is a keyboard layout that doesn’t have native support on your operating system. It’s a modified (or created from scratch) layout that’s supposed to give you benefits when typing. In order to use any custom layout to have to install it first.
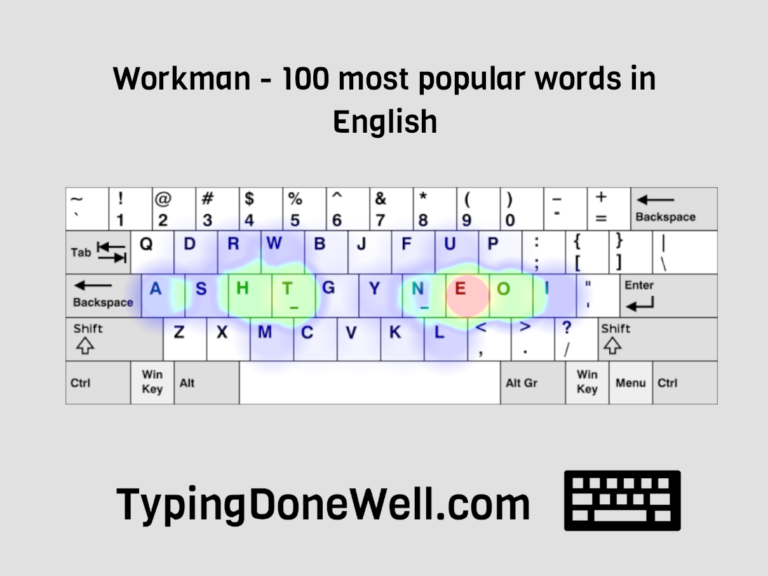
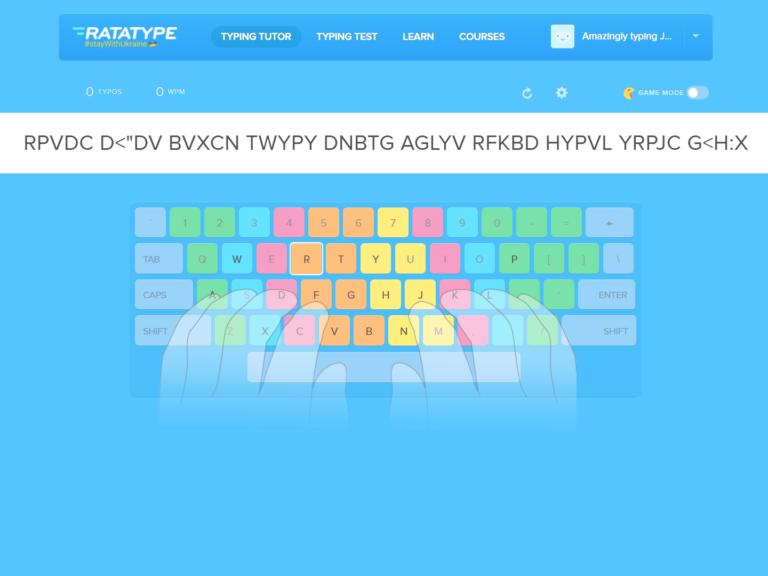
All of the new layouts start as a custom layout. Colemak or Workman – both are new layouts starting as a custom layout. Then if the layout works well and is popular it gets added to the operating system as a native one.
I know all of this might sound a bit complicated but it’s fairly simple when you want to get a custom layout. I’ll show you exactly how to do it.
How to install a custom layout on Windows?
Actually, installing a custom layout on Windows is fairly simple. But you need to understand that installing a custom layout won’t make it your default one. That means you’ll have to change it yourself (which I will show you how to do later).
l First step in installing a custom layout is to download it. You need to find a layout installation file on the internet and download it.
This step will vary depending on the website you’re downloading the layout from. To find the file for your layout google the layout you want to install and „download” next to it. For Colemak, it looks like this – „Colemak download”.
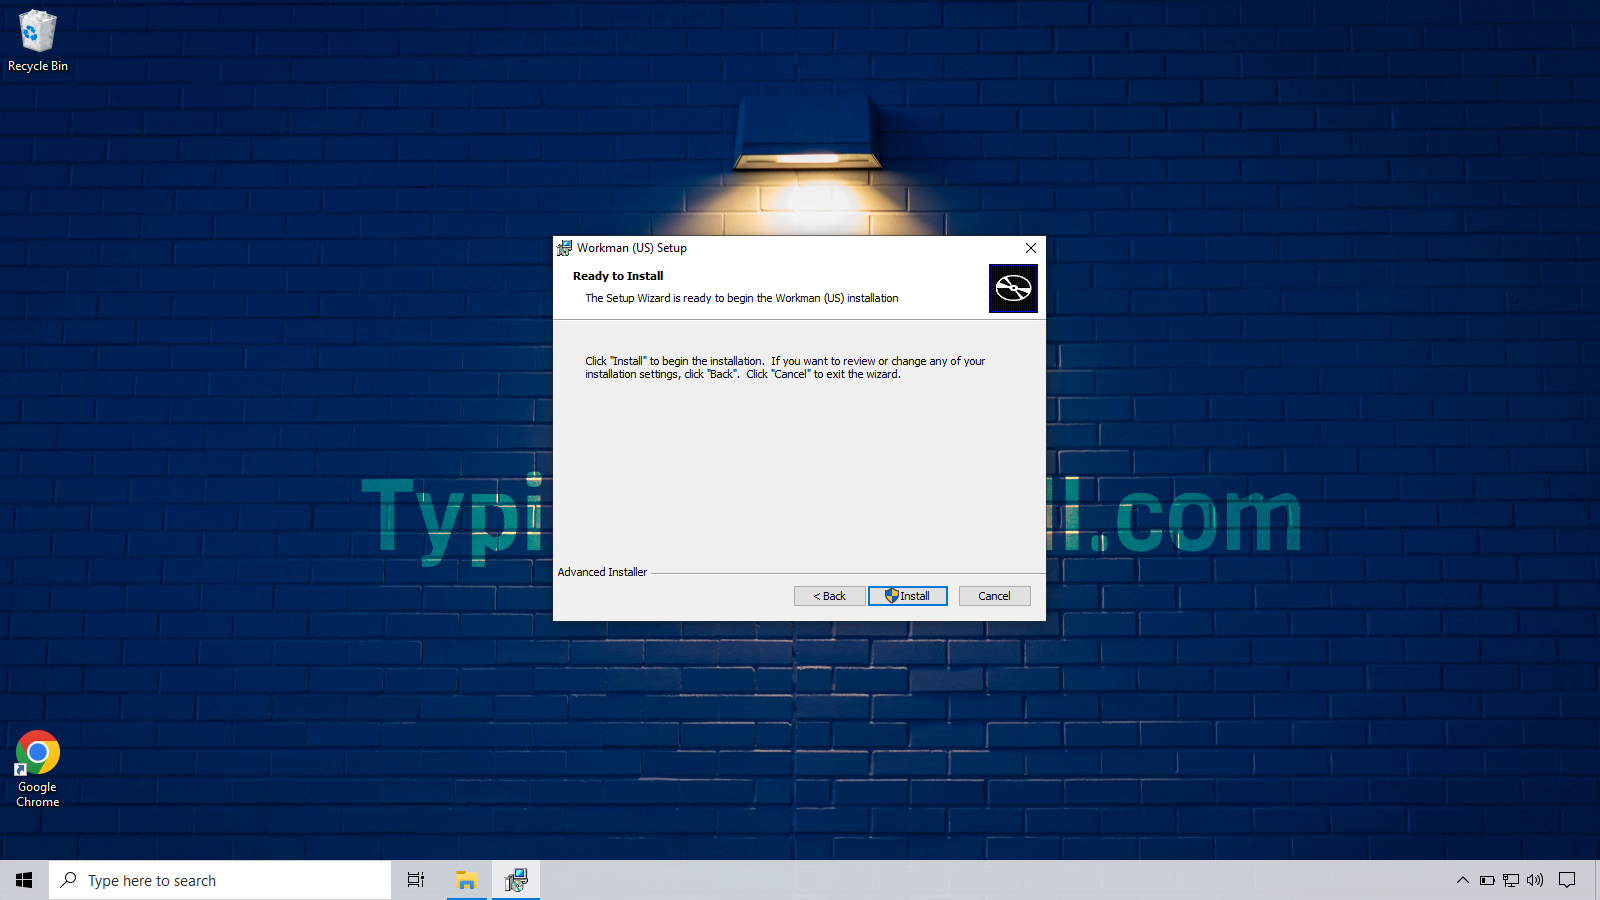
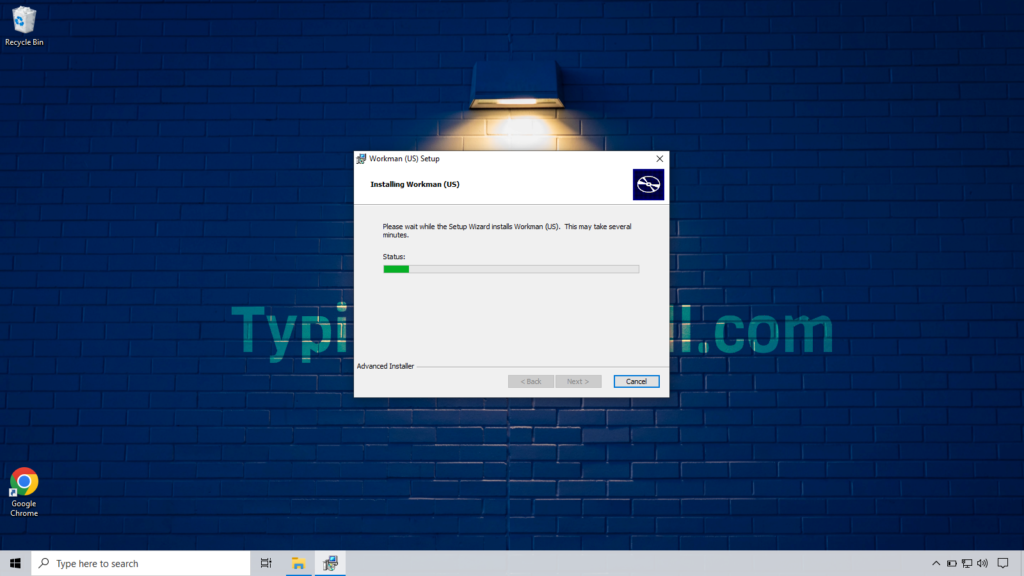
l Once you’ve got the layout file downloaded it’s time to install it. To do that unzip the archive (if you need to), open up the folder, and double-click on the file for installation.
Then you’ll see a window. All you need to do is follow the regular installation process. However, make sure that it looks like the one up above on the video. Stay safe on the internet.
Installing a custom layout on Windows is fairly simple. First, you need to download the layout’s installation files. Then you need to open up the folder and launch the install wizard (like on the video). After that, all that’s left to do is to change your layout to the newly installed one.
Congratulations! If you followed the steps correctly you’ll have your custom layout installed. But don’t worry nothing changes on your end. In order to actually use it, you need to change your keyboard layout to the newly installed one.
How to change your keyboard layout on Windows?
There are many operating systems out there. Even when talking about Windows – there are quite a lot of versions out there. Here I will show you how to change your keyboard layout on Windows 10 or Windows 11.
If you’re using Windows 8 or Windows 7 – don’t worry. I’ve made an article dedicated to changing your keyboard layout along with many versions of Windows. You can read it here – ARTICLE HOW TO CHANGE LAYOUT ON WINDOWS
Here, I’ll show you an easy way to change your keyboard layout on Windows 10 and Windows 11. Here it is:
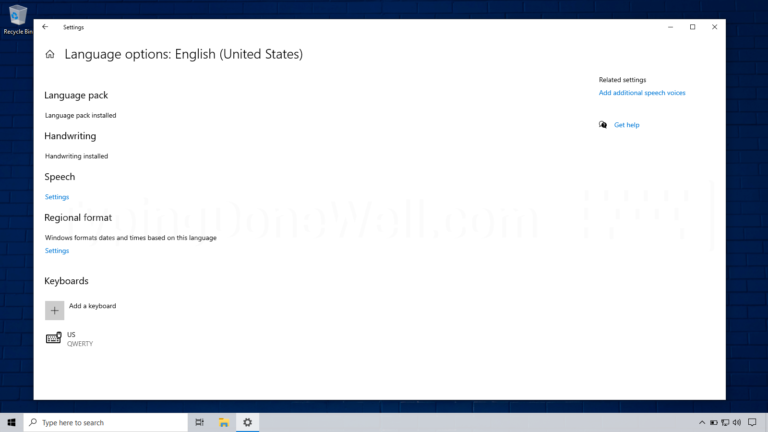
Windows 10 and Windows 11 lets you change your keyboard layout in the Settings app. First, search „edit language” and click on „Edit language options”. Then in your language options you can change the keyboard layout you’re using (look at the video).
If you don’t understand what exactly you need to do you can go to my dedicated article for the step-by-step guide for beginners. It’s here – ARTICLE HOW TO CHANGE LAYOUT ON WINDOWS
That’s how to change your layout to the custom one that you’ve just installed. Overall, the whole operation takes only a few minutes.
Now, when you know how to install any custom layout that you’d like you to have much more options. You can find a layout that fits you the best and it doesn’t need to be already on your Windows system.
