Keyboard PCB Tape mod – what is it and is it worth it?
Tempest tape mod – a keyboard mod named after one of the Discord members who first introduced this technique to the world. A very simple solution that works surprisingly well. No fancy tools are required, and no expensive materials. Just tape.
This mod is rather fascinating. With such an interesting origin it becomes that one mod with history and some background.
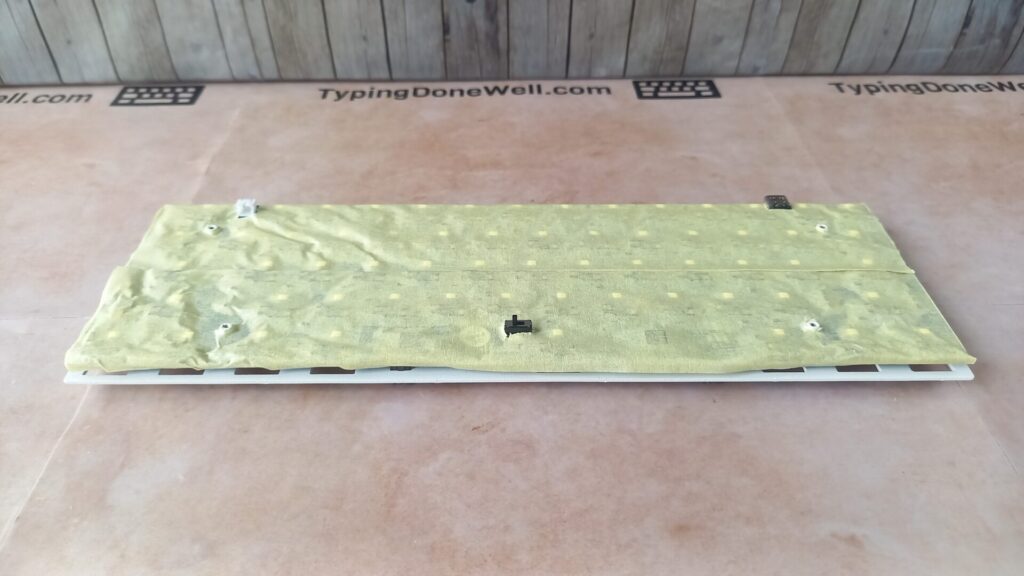
One day a curious person was working on a mechanical keyboard. It was probably a day like every other – regular, quite slow. Just Tempest working on a keyboard, trying to make it better. Suddenly, an idea came to his mind. Why do ideas come to us? I don’t know. Why this particular idea came to Tempest? I don’t know either.
For some reason, he taped the back of the keyboard PCB. Maybe he was trying to repair a broken one, maybe he was checking something. Either way, Tempest discovered a new keyboard mod that would change the sound extremely for so cheap like no other mod can. It’s called the Tempest tape mod.
Tempest actually uploaded a video where he showed this mod for the first time. You can see his own video here – TEMPEST VIDEO INTRODUCING TAPE MOD
What tools do you need for the tempest tape mod?
| Tape | This can be any tape that you want. The only requirement is that it doesn’t have a strong glue. Very sticky tape can lead to damaging your PCB. I recommend masking tape. |
| + Small screwdriver | You need a screwdriver in order to disassemble the keyboard (to take out the PCB). You can easily get one at your local hardware store. Or you can buy a set of precision screwdrivers here – BUY SCREWDRIVER SET |
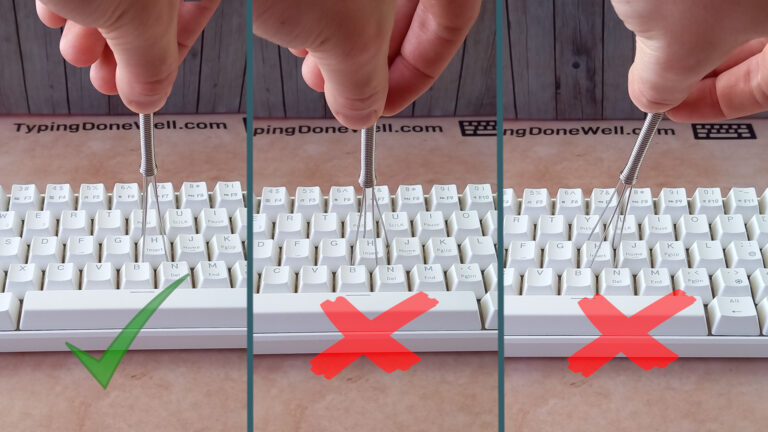
| + Keycap puller | You need to get to your PCB for the tape mod. But before that, you need to take the keycaps out. You will need a keycap puller for that, you can get one here – BUY A KEYCAP PULLER |
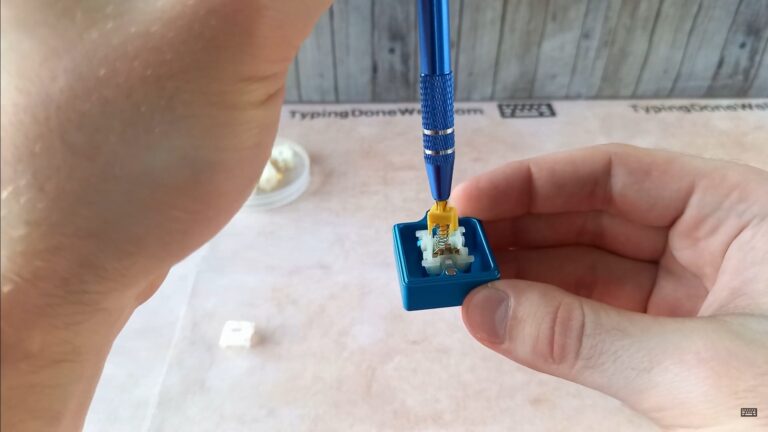
| + Switch puller | It is a good idea to take the switches out of your keyboard, even though you don’t have to. It’s called being cautious. For taking the switches out you’ll need this tool – BUY A SWITCH PULLER |
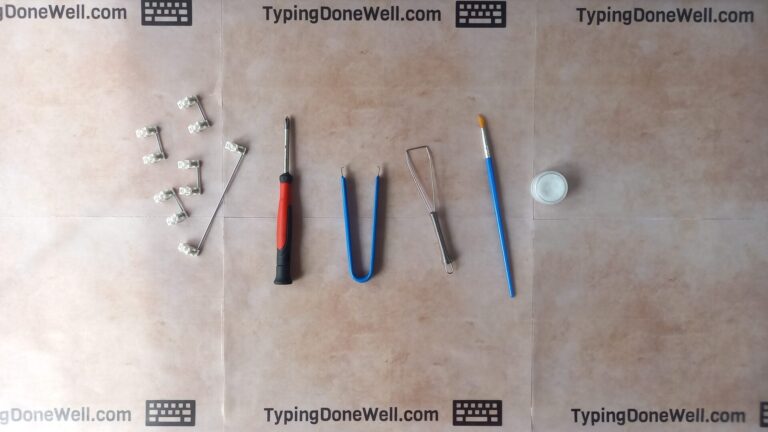
For Tempest tape mod you will need a screwdriver (to take out the PCB from your keyboard) and a tape that doesn’t have a strong adhesive side. This can damage your PCB. You’ll also need a keycap puller and a switch puller.
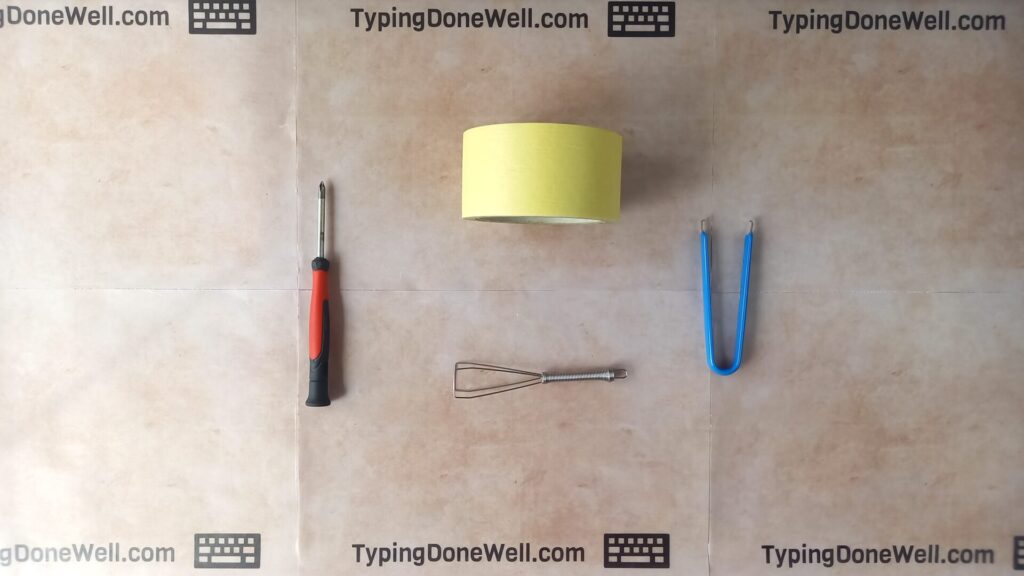
Depending on your keyboard you could get away with for example leaving the switches in (that’s why there’s a little plus next to both the switch puller and keycap puller). But I don’t recommend doing so for beginners.
Does the tempest tape mod work?
First, I want to show you the difference this mod does to the sound of your keyboard. It’s actually insane how much a few pieces of tape can do.
Tempest tape mod makes a relatively huge difference for the amount of materials and work needed. This mod noticeably improves the sound of your keyboard – makes it sound deeper and gives it more depth.
Of course, the real difference is when you can hear it. I’ve made a dedicated video to show you the difference between no tape and 4 layers of tape. Here it is:
You can easily compare those two sound tests. It’s always harder to hear it on the recording, especially because it depends on your speakers or headphones. But you’ll get a good idea of the difference.
I made sure to make it sound as close to reality as I can. I think you can clearly hear the difference even on the recording.
Is tape mod safe for the keyboard?
Tempest tape mod requires you to put tape on your PCB. One might ask – is it safe? It’s a very good question and it’s important to make sure this mod won’t damage your keyboard.
Doing a tape mod to your keyboard can be dangerous in case of using a strong adhesive. For this mod to be safe to your keyboard make sure that you are using a tape without strong glue. Tape with strong adhesive can damage your PCB.
If done properly, the Tempest tape mod is safe for the keyboard. However, if you use a tape with strong glue it can pull the PCB components apart. This will make your keyboard unable to take key press inputs. In other words – it won’t work.
You could repair your keyboard’s PCB if you knew how to solder it. Still, it’s better not to have this problem and simply use proper tape.
Which tape is best for tape modding your keyboard?
There are plenty of tapes on the market. But how do you choose the right one for the Tempest tape mod? Which one makes the best sound on your PCB?
There are many aspects of a tape that can change the sound of your keyboard. What’s more, there are many different types of PCB that will also create a different sound after doing the tape mod. So, how do you choose?
There’s not that much of a difference between one tape compared to another (as long as it doesn’t have a strong adhesive). The best advice that you can get in terms of choosing the tape is this: use the tape that you already have lying around. that doesn’t have strong glue.
Simple as that. Tempest tape mod is a cheap and easy way to improve your keyboard’s sound. Not some advanced technique that requires buying fancy materials.

And yes, you can talk about the thickness of a tape and how it differs from one another. Yes, it will affect the sound that you’ll get. But guess what? You can always use two layers of tape instead of three! Or the other way around.
There’s no point in overthinking the choice of tape. You can even hear how silly it sounds. As long as the tape that you have lying around doesn’t have a strong glue you can use it.
Save yourself money and trouble thinking about the perfect tape. As I said, you can always add (or remove) a layer of tape to make your keyboard sound different. Any tape will work pretty much just as well as all the others. Trust me, you won’t be able to hear the difference.
How to tape mod your keyboard?
Now it’s time to get into actually performing this mod on your keyboard. That’s always the most exciting part.
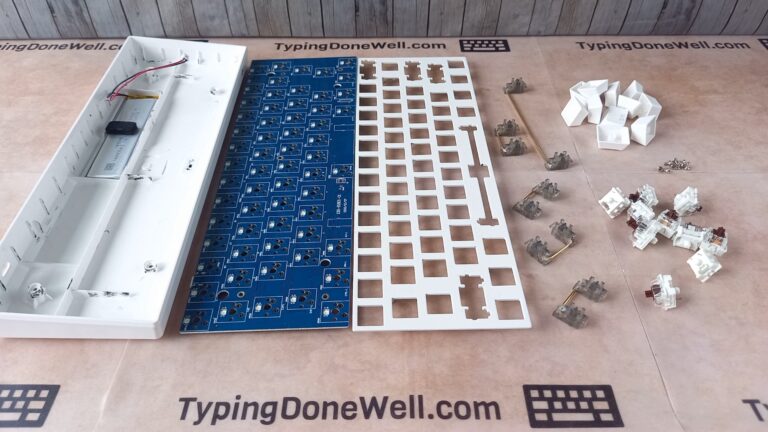
- First things first, you need to take the PCB out of your keyboard
The first step is actually disassembling the keyboard to mod your PCB. It’s not easy. There’s a lot of technique in doing that. So much so that I’ve made a whole step-by-step guide just about keyboard disassembly (and reassembly). You can read it here – ARTICLE DISASSEMBLE KEYBOARD
- The next step is performing the tape mod on the PCB itself
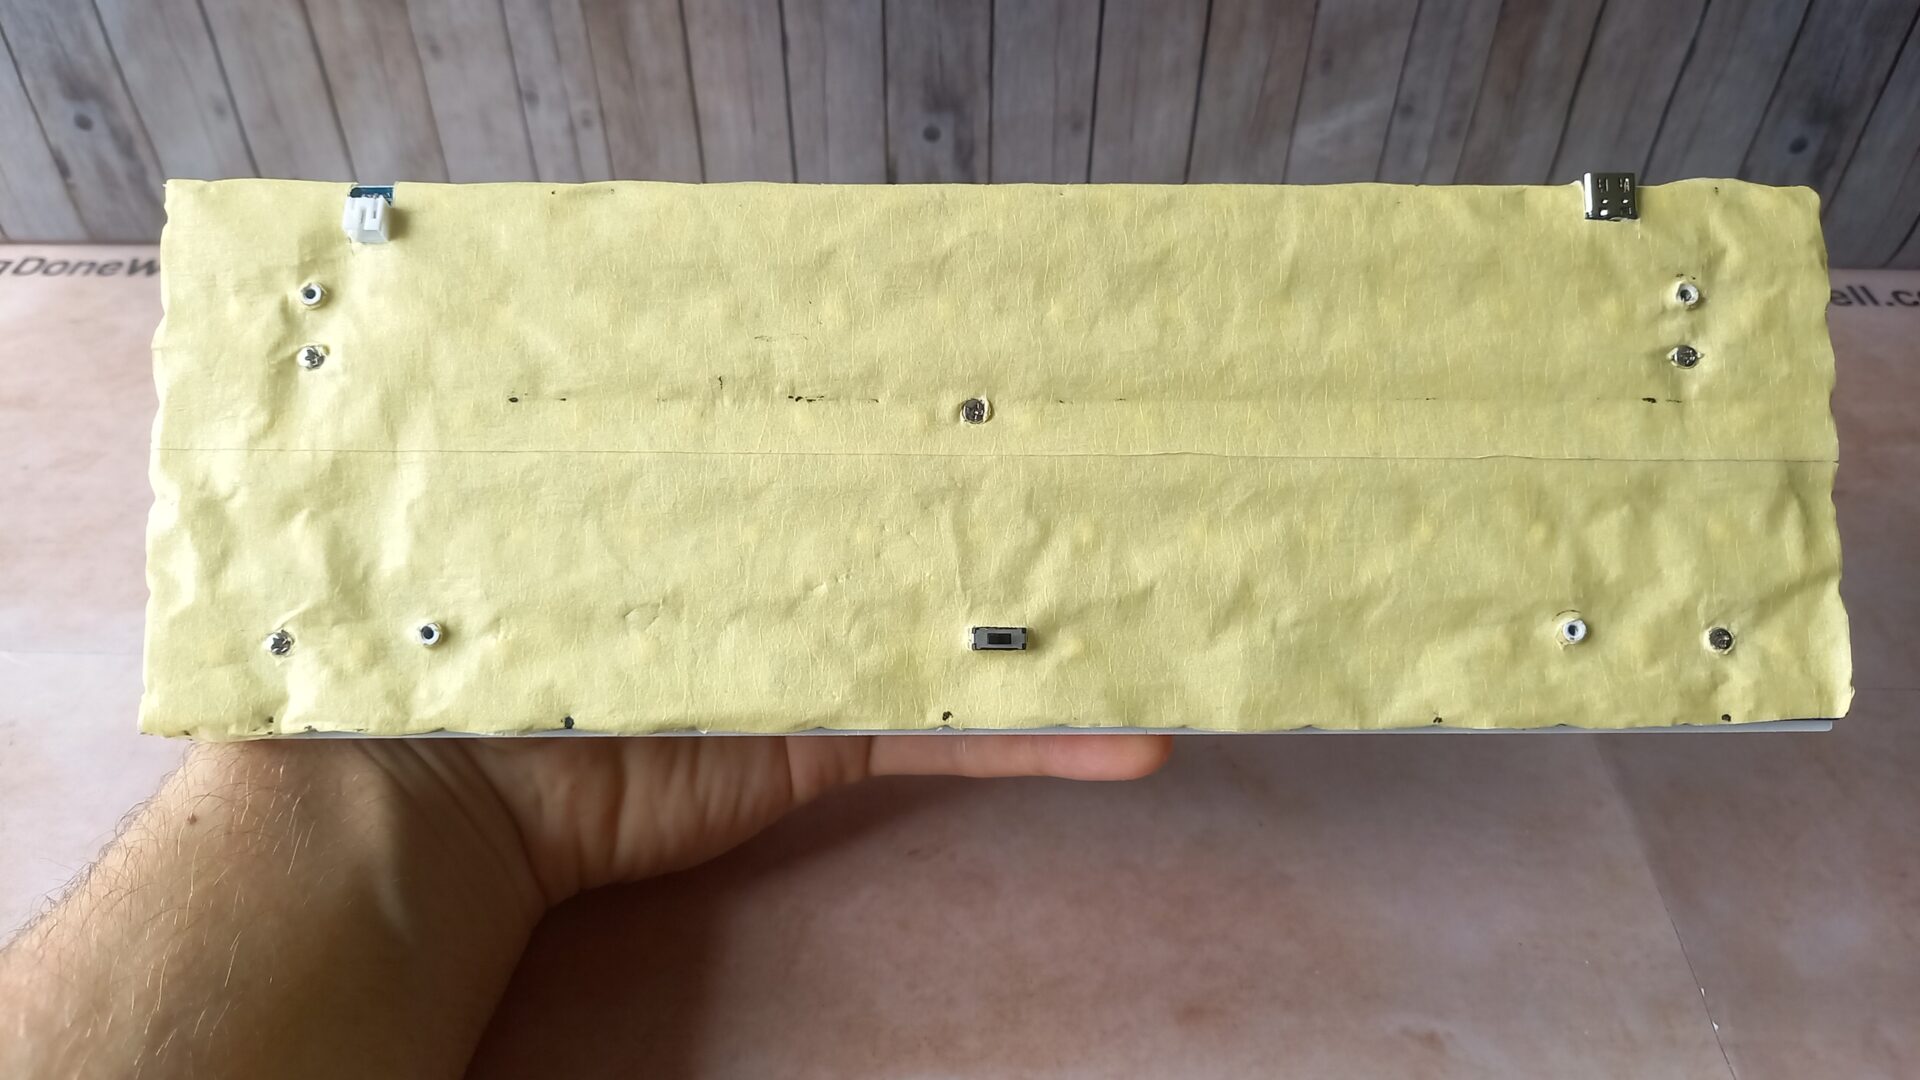
Honestly, that’s the easy part of performing this mod. All you need to do is apply the tape on the back of your PCB.
To do the tape mod first remove the PCB from your keyboard. Then add a certain amount of layers of tape (depending on the sound you want to get) on the back of the PCB. After doing so assemble the whole keyboard back together.
That’s it, doing a tape mod is really simple. The most time-consuming and difficult process is actually disassembling and reassembling the keyboard.
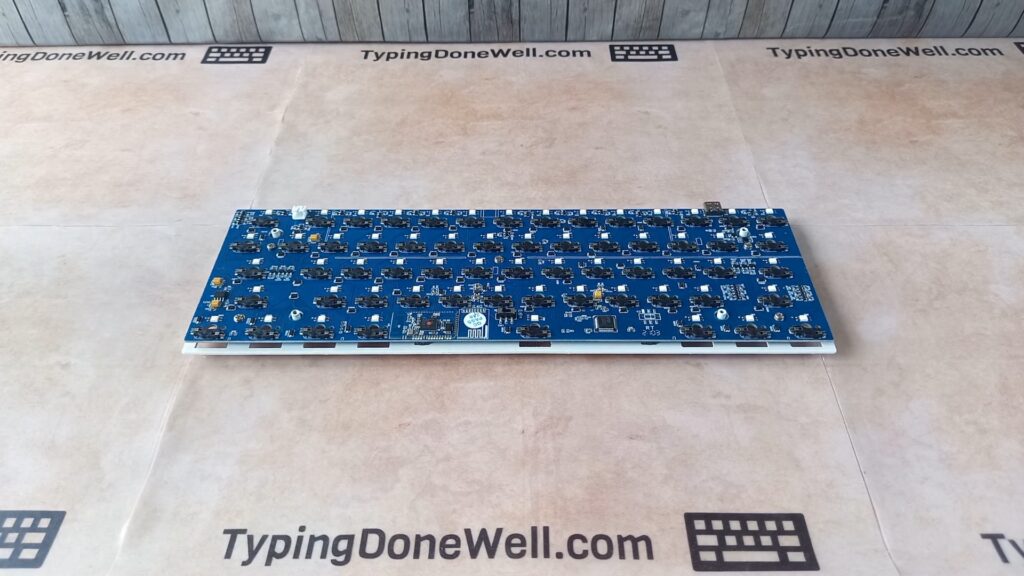
That’s why it’s better to do this mod alongside another one like the foam mod. Doing this mod as well will improve the sound of your keyboard even more and save you the time of disassembling the keyboard again – ARTICLE FOAM MOD
Back to the tape mod. We’ll talk about the number of layers in the next section. I’ve tried to make a video to help you visualize the process of tape modding your PCB. However, it’s hard to see and the process is pretty easy:
- Place the tape on your PCB and mark places where you need to cut. Remember that you need to make holes for screws and PCB elements that stick out
- After marking the tape take it off the PCB
- Cut the tape to fit your particular PCB and make holes for screws and other elements sticking out
- Plate the tape back on the PCB and repeat this process until you’re satisfied
One more thing – it’s better if you have as little overlapping on tape pieces as possible. The ones that you place next to each other as the same layer (your tape most probably can’t cover the whole PCB in one piece).
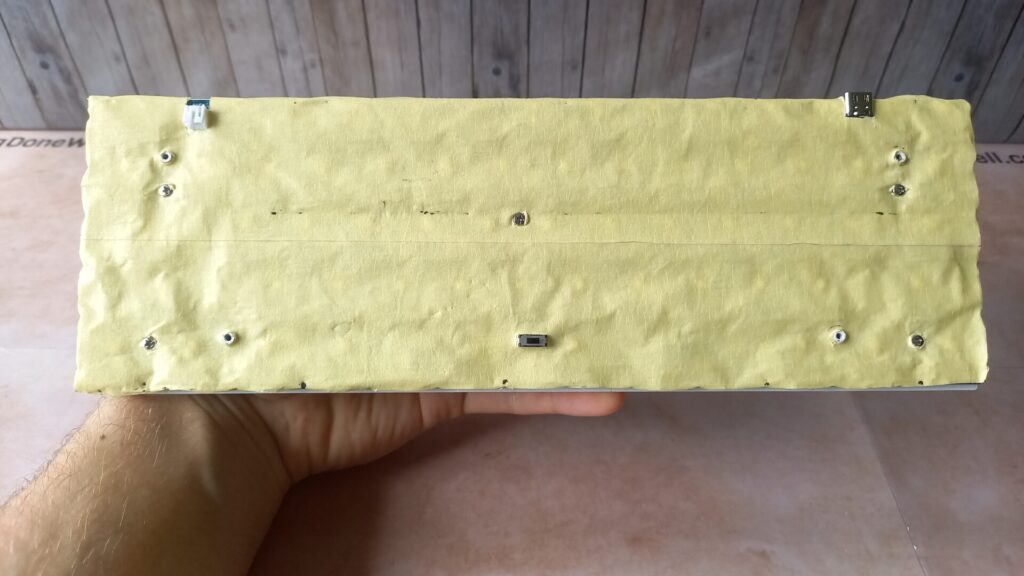
That’s it. You place a few layers of tape onto the back of your PCB. This will make your keyboard sound deeper and quieter.
- The last step of performing tape mod is reassembling your keyboard back together
To reassemble the keyboard back together you would simply backtrack your steps from when you disassembled it. Or that’s what you’d think. I thought that too when I was starting out. Turns out there’s a bit more to reassembling your keyboard properly. A right technique.
That’s why I’ve made a detailed step-by-step guide to help you properly reassemble your keyboard. Without damaging it. You can read it here – ARTICLE REASSEMBLE KEYBOARD
How many layers of tape should you use for the tape mod?
The amount of layers is important to the sound. Tempest started with only one layer of very thin tape and that’s what he recommended. However, I would never use only one layer. It all depends on the sound that you’re looking for.
But how many layers of tape should you use? I won’t give you a fixed answer to this question. Instead, I will show you the difference between only one and eight layers of tape. Two ends of the spectrum. Then you can choose where you want your keyboard’s sound to be.
Throughout this whole comparison, I will change only the tape. Switches, keycaps, and stabilizers will all stay the same. Here’s my detailed tape comparison in a nice video for you:
Can you hear the difference? It’s actually quite surprising how big of an impact this mod has on the sound of your keyboard.
Now, using 8 layers of tape is quite ridiculous. I’ve done it only for the purpose of this sound test. I don’t recommend using 8 layers of tape on your keyboard. More often than not there’s no space for it either way.
For me, the best middle ground is around 3 layers of tape. That’s the amount I use myself. A tape mod with 3 layers of tape adds a great sound while still being relatively thin and without getting too much in the way.
I hope this article helped you with doing a tape mod yourself. Remember, it’s just a tape mod. It’s meant to be low-budget so don’t buy a special tape because someone on the internet did this mod with it.
Now you know how to choose the proper tape yourself and how to do this mod properly. All there’s left to do is actually modding your keyboard! Let me know how it went in the comments down below!
